DIGF – 3010 – 301
William Zhang
Ronit Sharma
Project Description
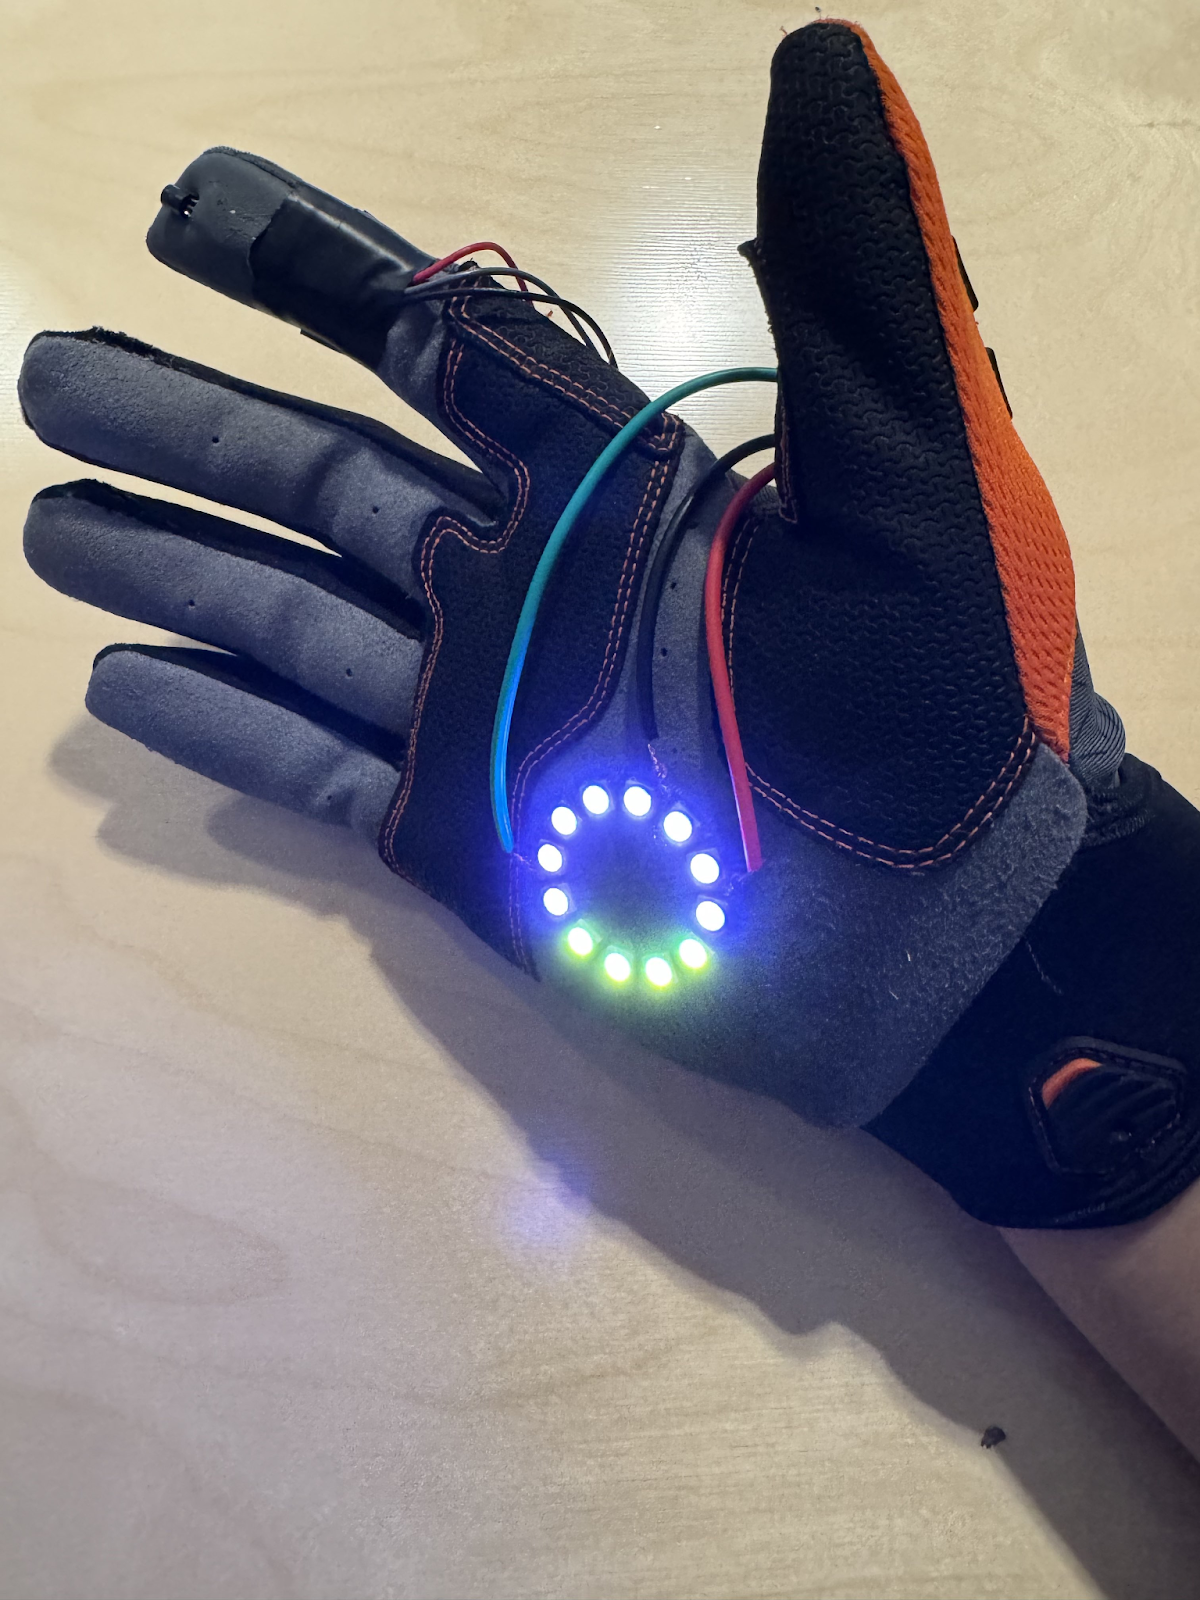
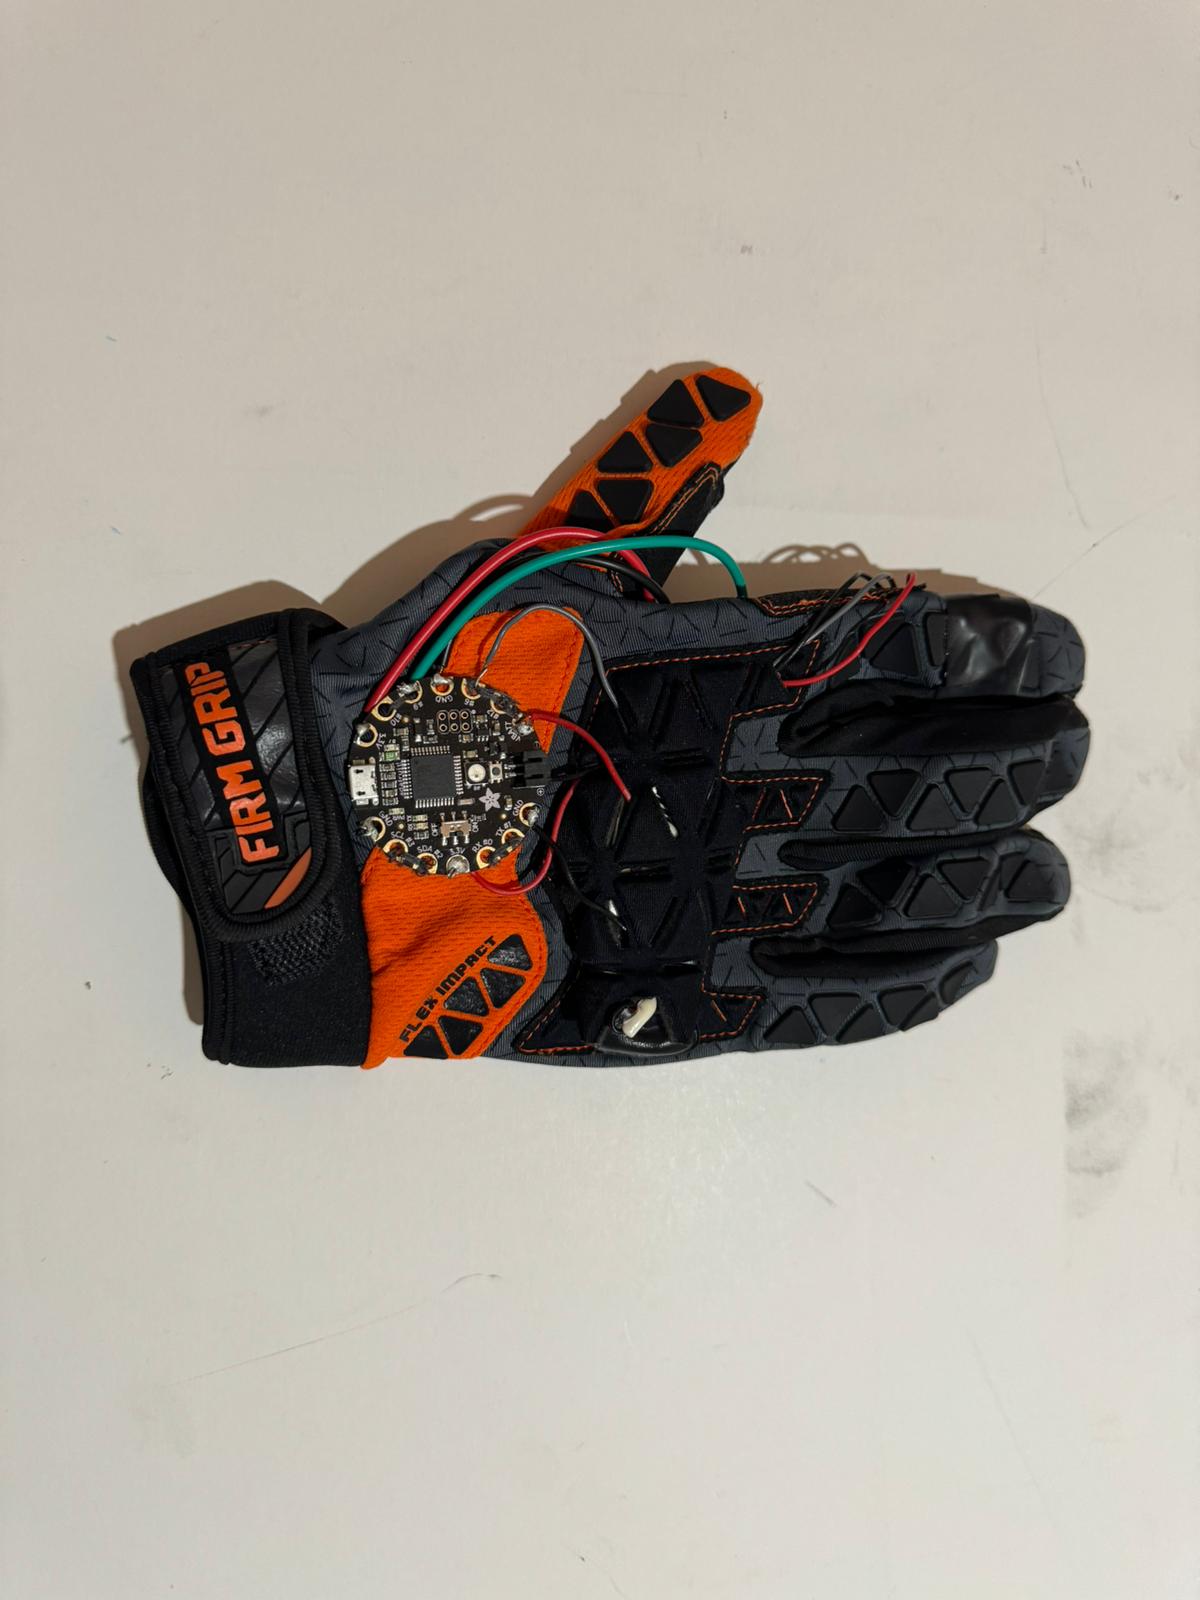
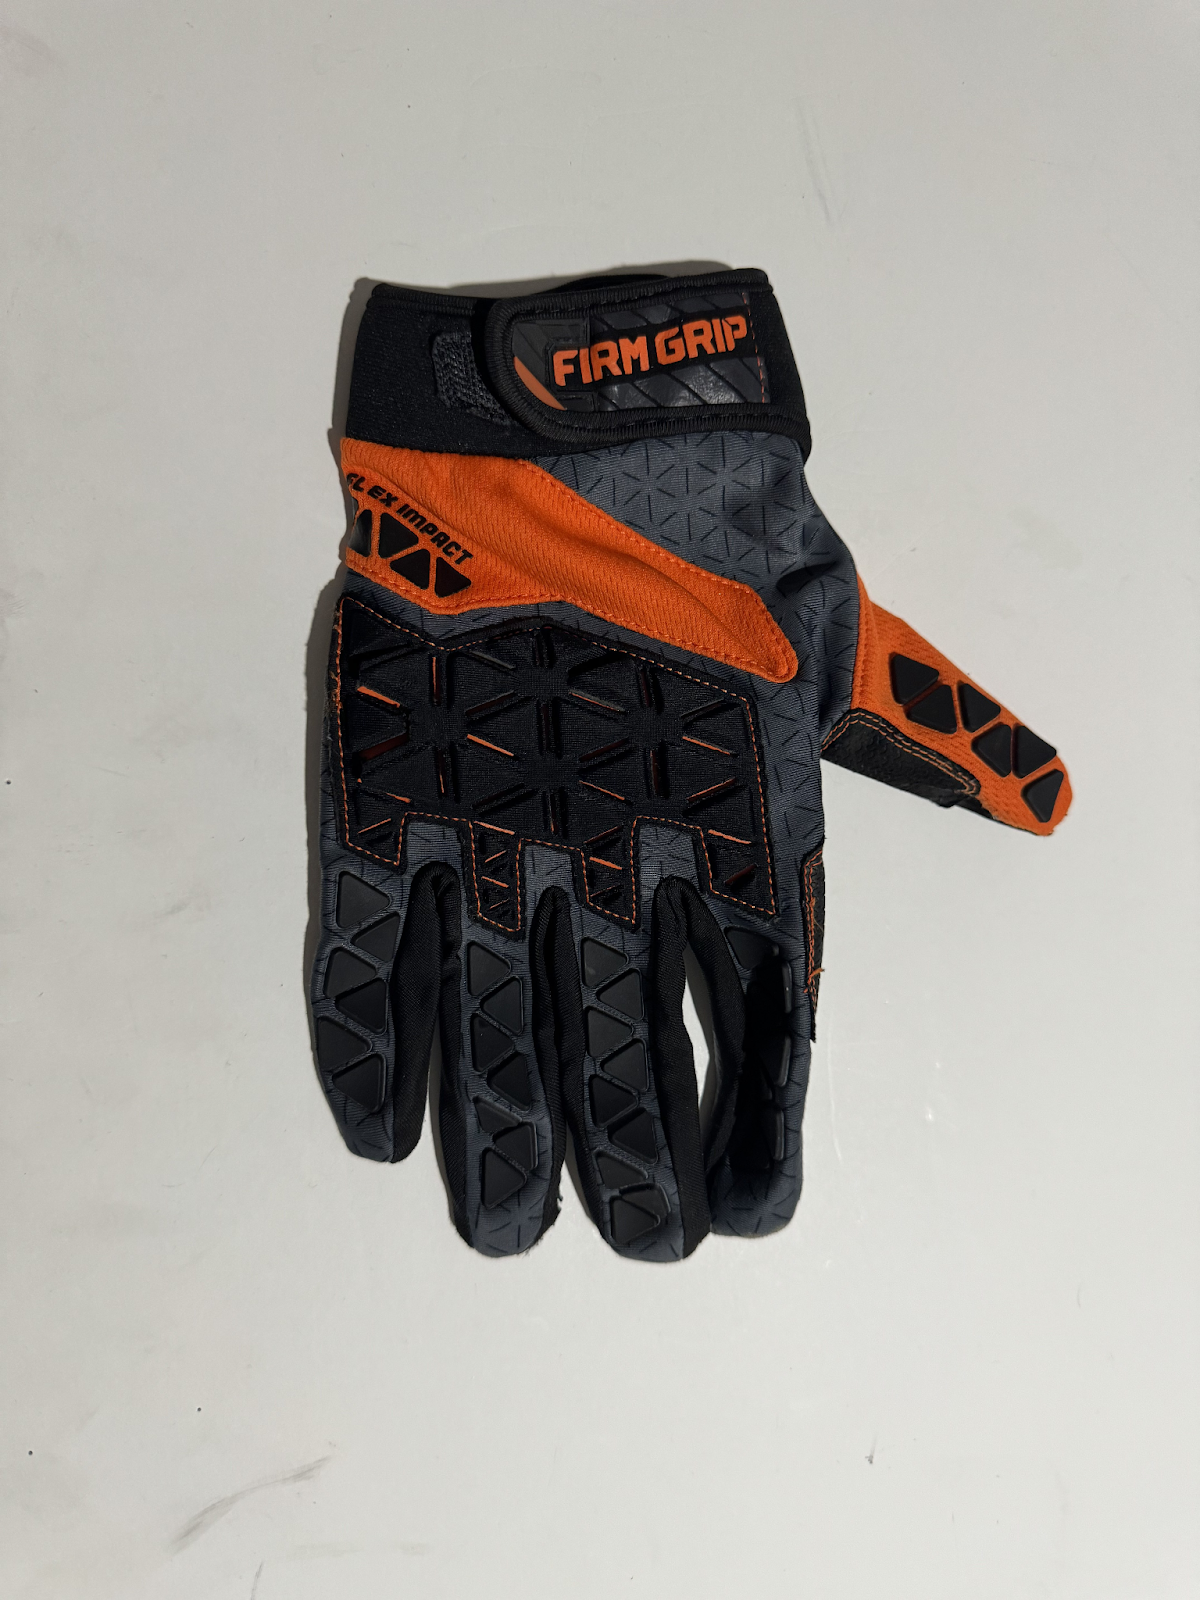
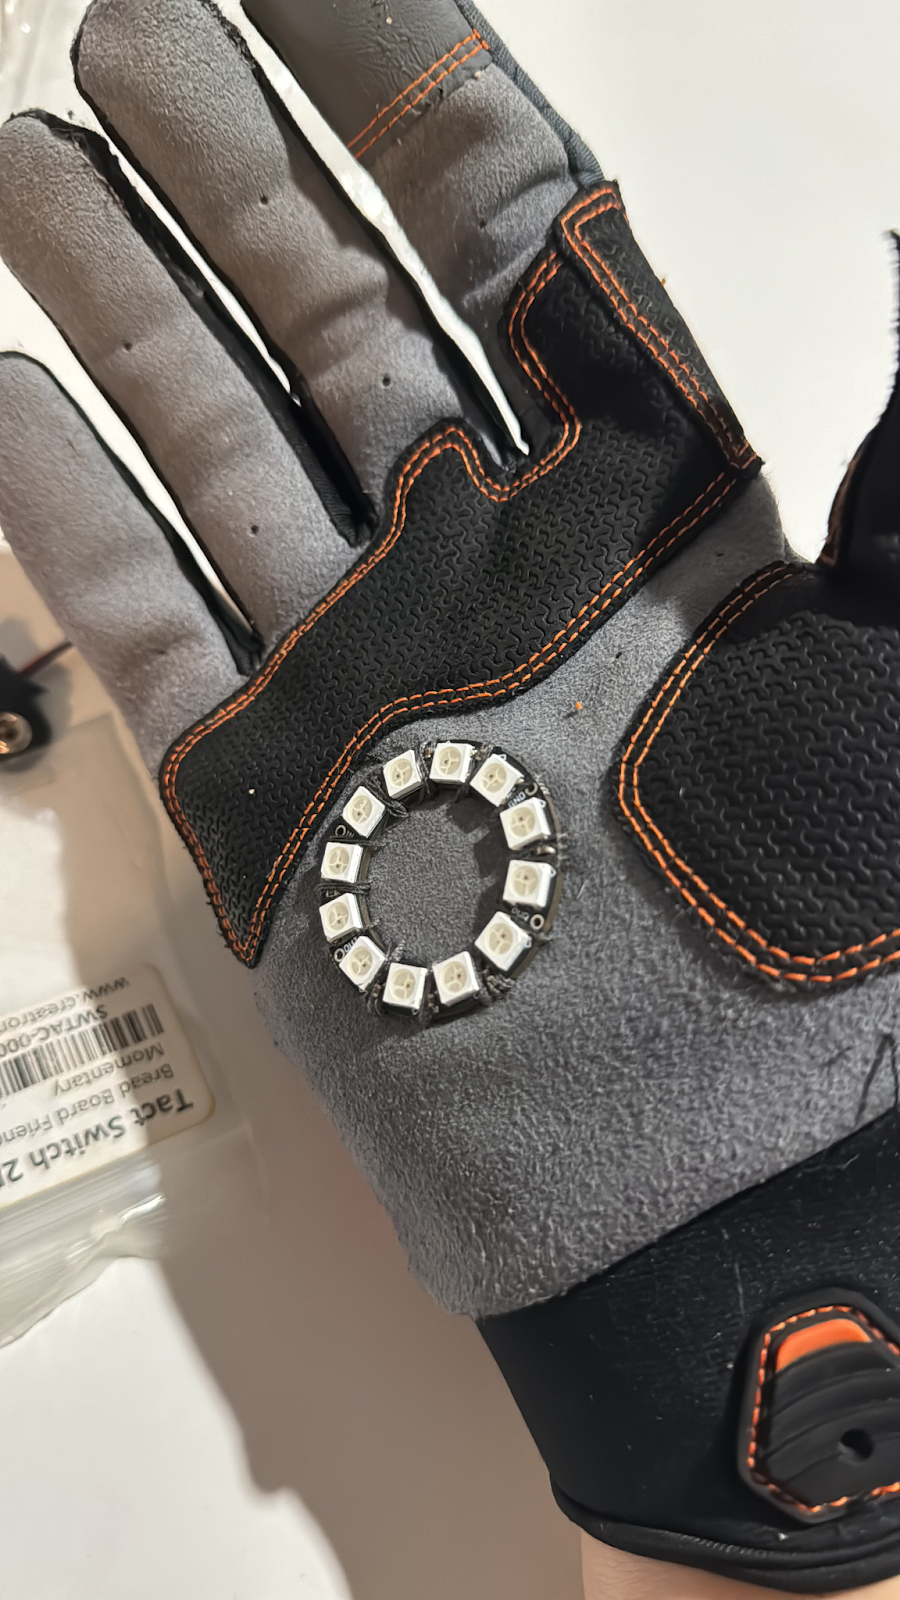
This glove is inspired by Iron Man’s battle armour with the laser cannons on his hands. A tool for professionals working in different temperature conditions, providing them with a quick, visual indication of temperature changes. There is a temperature sensor on the index finger, which will transmit the data to the Flora for analysis. We have set different colours for each temperature range, information will be transmitted to the LED ring on the palm to show the colour corresponding to the different temperatures. An amber/orange effect mimicking fire-like lighting or red will appear at a hot temperature range, for the sensor this is set at 20 – 25C to accommodate for testing. At 10 – 15C, a snowy sparkle effect/blue will appear on the LEDs and at 17 – 19C the LEDs will light up green representing room/median temperature. All components are sewn onto the glove as well with a 9V battery placed in a pocket above the knuckles allowing for use throughout the day. The glove is heavy duty attributing to the armour aesthetic we are going for as well as allowing the glove to be practically used in harsh environments. All technical components solder to the Flora board at the top of the hand sewn onto the glove.
Project Images


Project Video
https://drive.google.com/file/d/1JbicJmLQM5pkBlalkjJnyiPWFkdrzFg4/view?usp=sharing
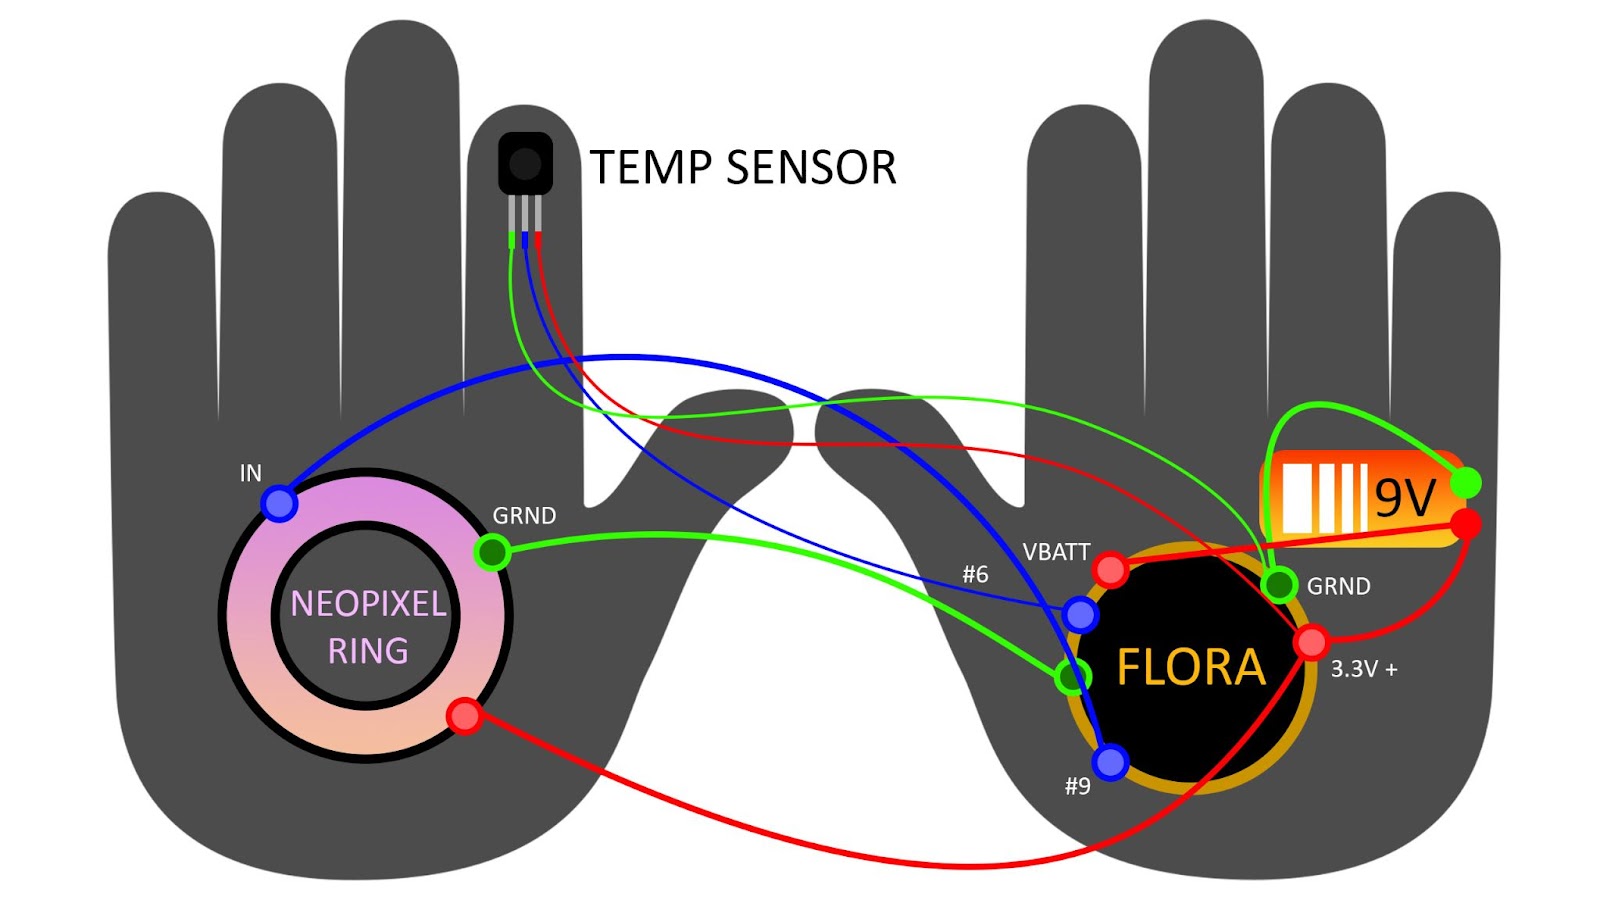
Project Diagram
Project Parts
- Adafruit Flora Board
- Temperature Sensor
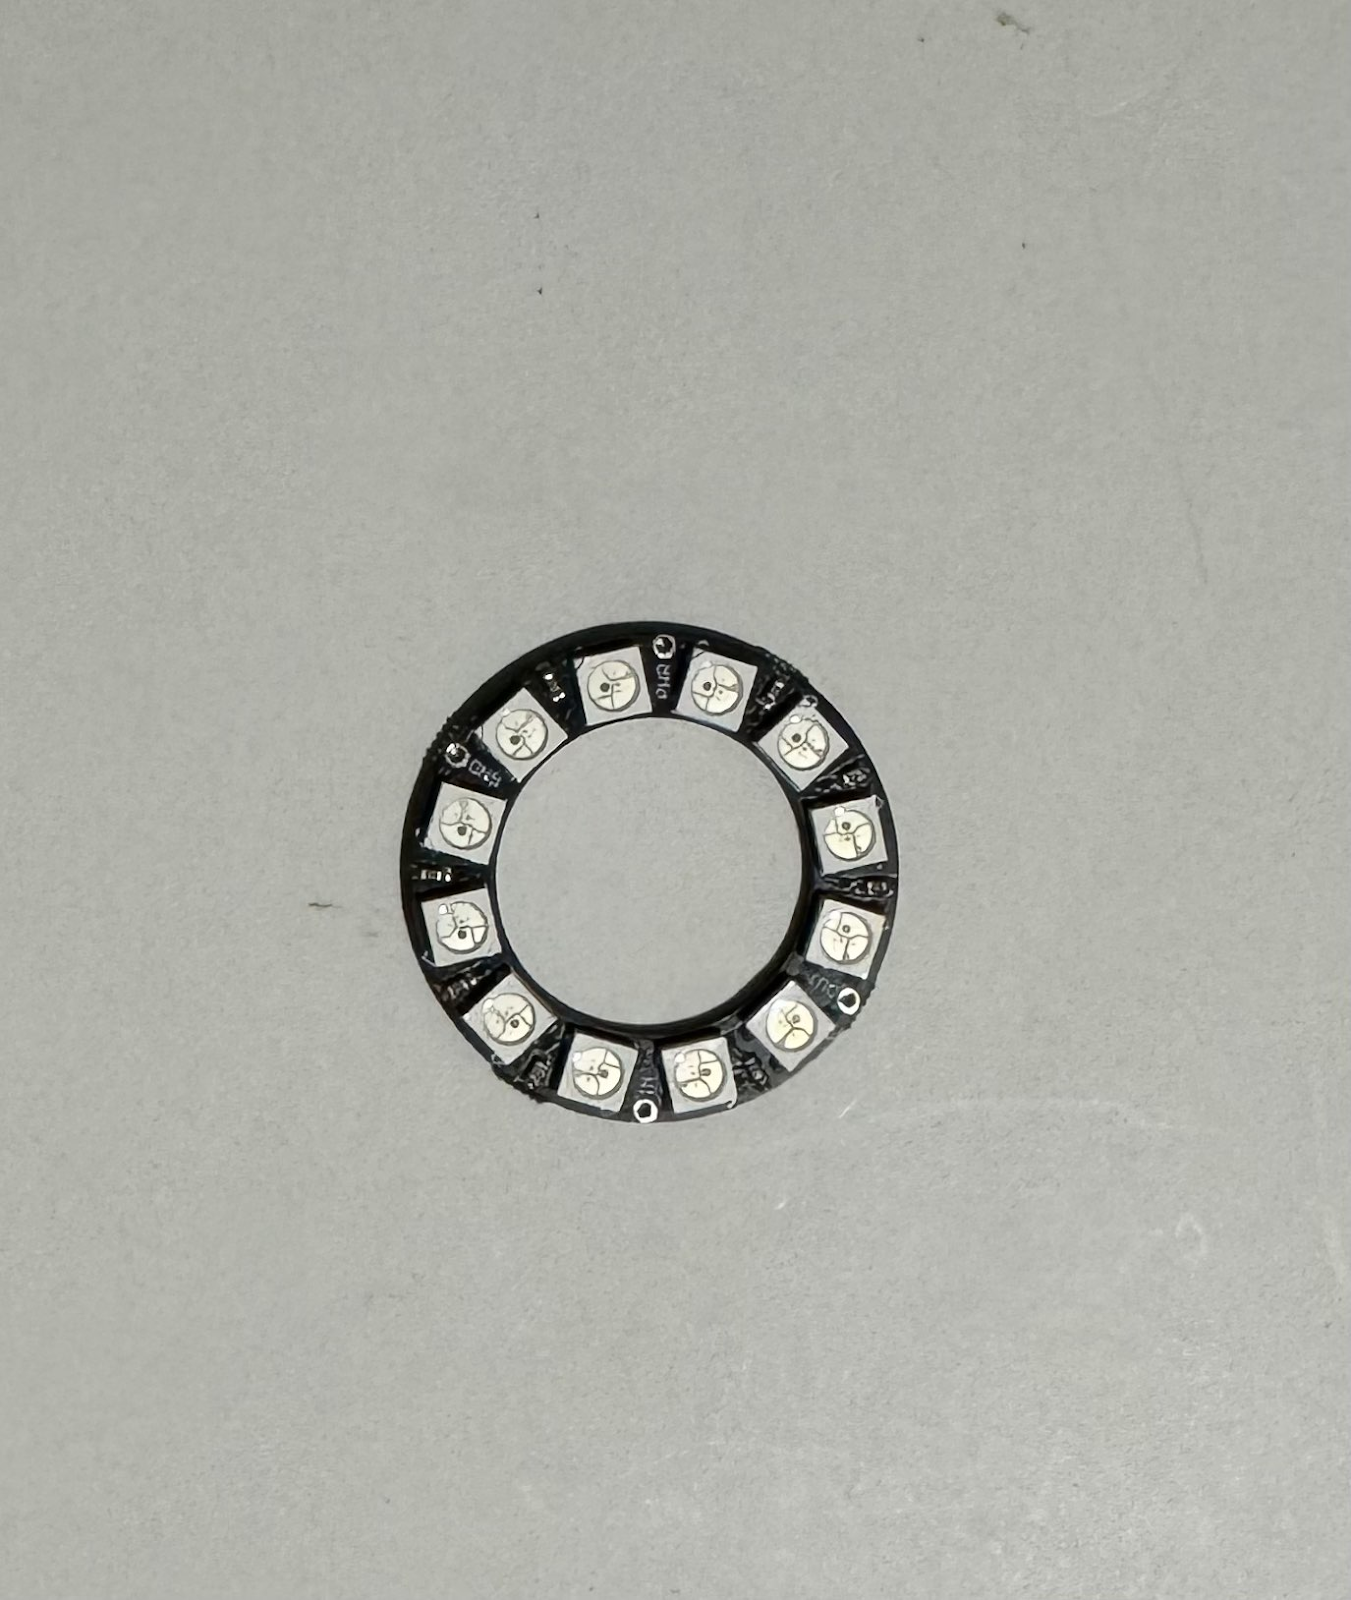
- NeoPixel Ring
- Work Glove
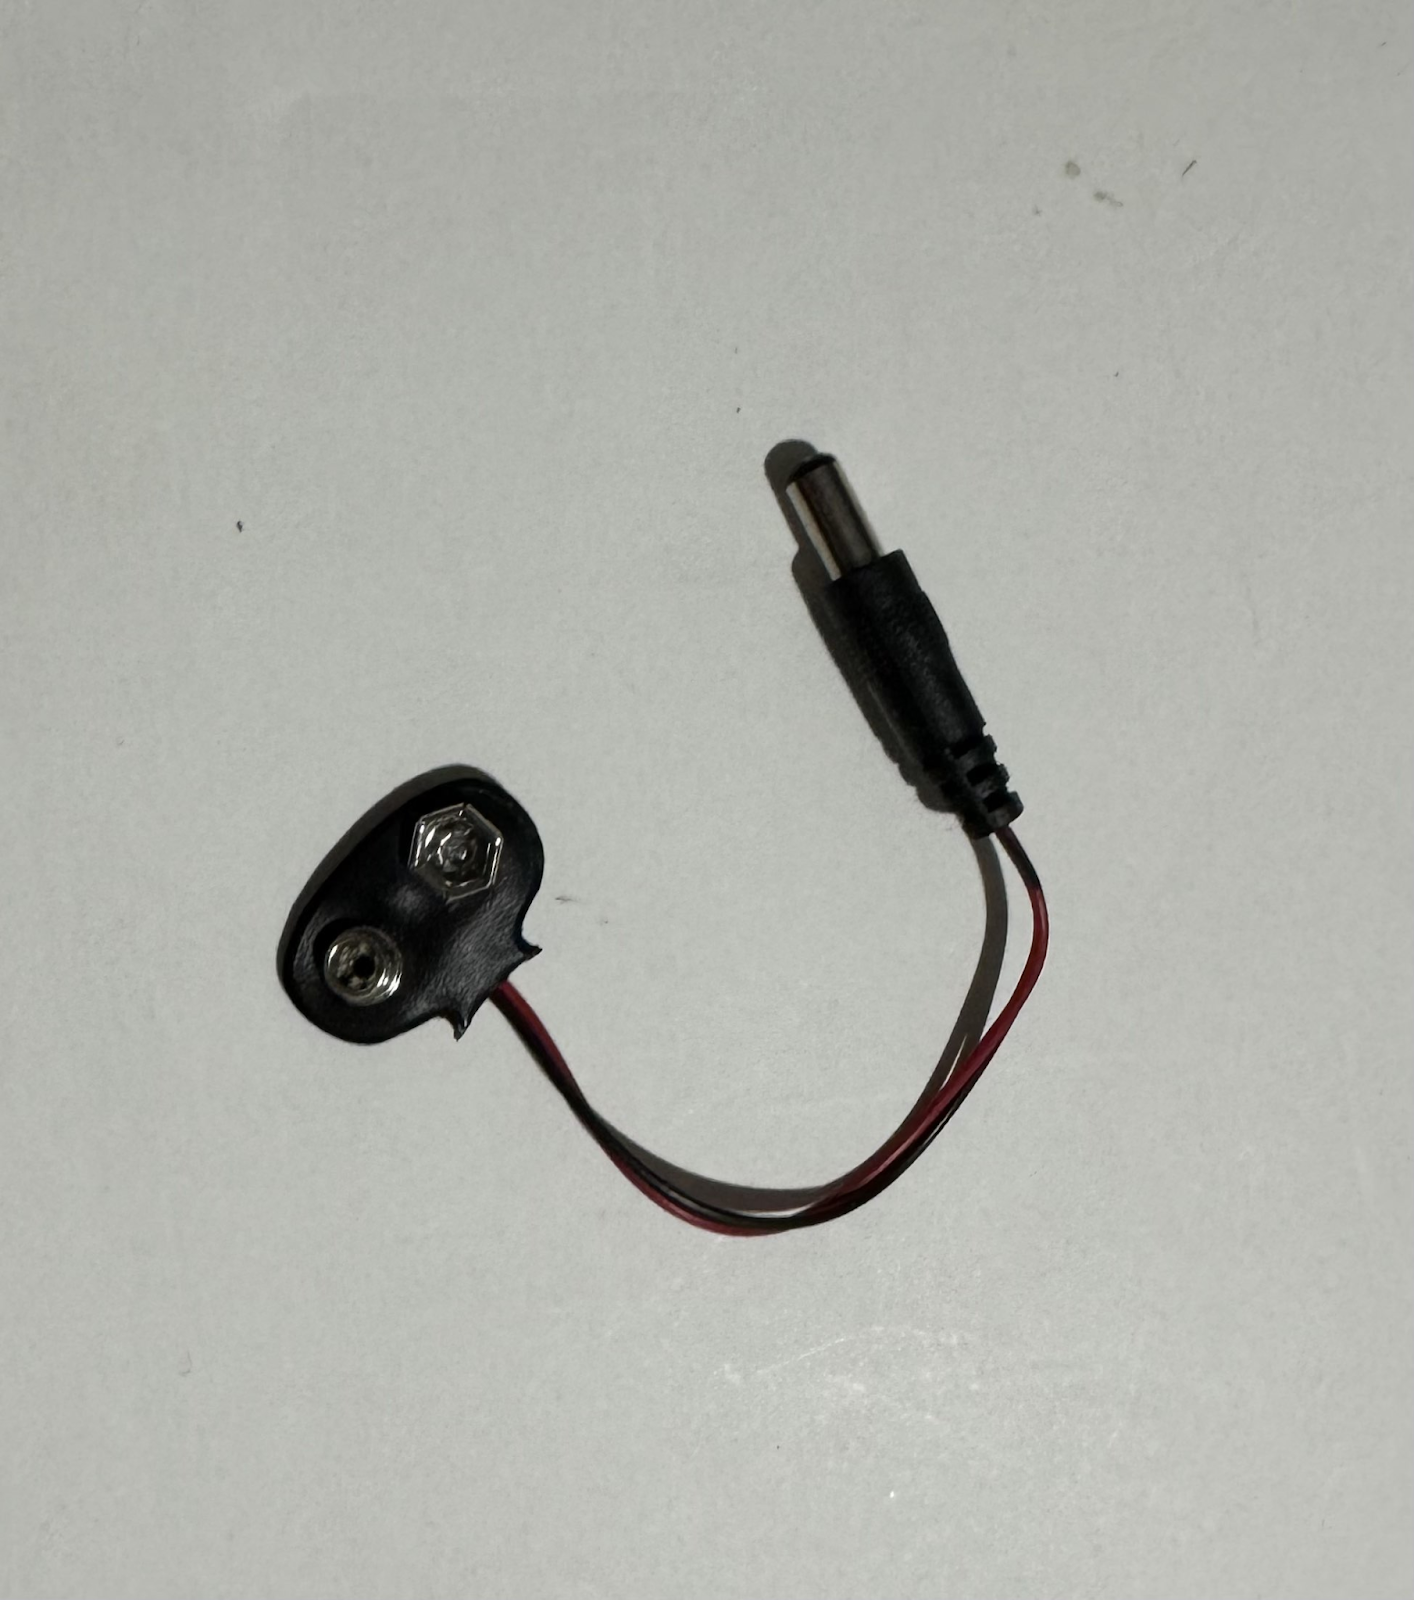
- 9V Battery
Project Materials
- Thick Wires
- Wires
- Conductive Thread
- Thread
- Black Tape
- Solder
Circuit Diagram

Project Code
#include <Adafruit_NeoPixel.h>
int sensorPin = A0;
float temperatureC = 0;
#define PIN 2
#define NUMPIXELS 12
Adafruit_NeoPixel pixels = Adafruit_NeoPixel(NUMPIXELS, PIN, NEO_GRB + NEO_KHZ800);
void setup()
{
pixels.begin();
Serial.begin(9600);
}
void loop()
{
int reading = analogRead(sensorPin);
float voltage = reading * (9.0 / 1024.0);
float slope = 100.0 / (1.0 – 0.1);
float offset = 0 – slope * 0.1;
temperatureC = slope * voltage + offset;
Serial.print(“Voltage: “); Serial.print(voltage); Serial.println(” volts”);
Serial.print(“Temperature: “); Serial.print(temperatureC); Serial.println(” degrees C”);
delay(1000);
void temp();
}
void temp(){
if(temperatureC > 20.0 && temperatureC < 25.0){
for(int i=0; i < NUMPIXELS; i++){
pixels.setPixelColor(i, pixels.Color(random(230, 255), random(150, 191), 0));
pixels.show();
delay(100);
}
}
else if(temperatureC > 10.0 && temperatureC < 15.0){
for(int i=0; i < NUMPIXELS; i++){
pixels.setPixelColor(i, pixels.Color(random(150, 175), random(210, 277), random(200, 214));
pixels.show();
delay(100);
}
}
else if(temperatureC > 18.0 && temperatureC < 20.0){
for(int i=0; i < NUMPIXELS; i++){
pixels.setPixelColor(i, pixels.Color(0, 255, 0));
pixels.show();
delay(100);
}
}
else{
for(int i=0; i< NUMPIXELS; i++){
pixels.setPixelColor(i, pixels.Color(0, 0, 0));
pixels.show();
delay(100);
pixels.clear();
}
}
}
Project Sketch

Progress Images

Challenges & Successes
It was challenging putting the glove together when accounting for the battery as it would heat up and putting components around that heat may damage the overall circuitry of the wearable. The temperature sensor itself took a while to get proper readings and it was challenging to find proper objects to test it. Knitting into the glove was tedious as the glove’s fabric was thick making it hard to sew tightly enough so components weren’t loose. Adapting our code to the Flora was difficult as on the Arduino IDE the Flora isn’t a board that directly connects requiring an alternative board manager to do so.
We had success In the glove’s overall build, It is easily wearable and the wiring does not break under hand contortions. The NeoPixel ring displays colors well allowing for animations to shine brightly for the wearer to see. The temperature sensor is nicely tugged using threading and black tape masking it into the glove aesthetically and allowing for its practical functionality.
Next Steps
If we were to improve on this project further, a display port that shows the wearer the temperature of what they choose to hold or touch can display temperature readings of that object or material. An Arduino display port can satisfy or small OLED screen that can be fitted onto the glove firmly. With more time the glove can have not 1 temperature sensor but multiple on each fingertip that corresponds with different LEDs allowing for multiple objects to be touched/sensed at a time. With more advanced conditions a glove could be made from scratch with more heat-resistive materials and insulation allowing for it to be sustainable in a variety of temperature-deviating extreme conditions.
Sources
Technologies, A., & Instructables. (2022, April 23). Bionic iron man glove. Instructables.
https://www.instructables.com/Bionic-Iron-Man-Glove/
This is a DIY Iron Man glove using the same Neopixel Ring We used for this project. This focuses on making an aesthetically accurate design or prop.
Tos, D. H. and H., & Instructables. (2017, October 11). Wearable temperature sensors for working in extreme cold. Instructables.
https://www.instructables.com/Wearable-Temperature-Sensors-For-Working-in-Extrem/
This focuses on adapting a temperature sensor for extreme cold conditions on wearables. Its goal is to prevent frostbite giving the wearer signals/warnings
Neopixel. STEMify. (n.d.).
https://stemify.weebly.com/neopixel.html
This is a Glove that uses the movements of initiating Iron Man’s repulsors tp animate a NeoPixel ring at the palm. Animations ar triggered that give the wearer som escapism with a physical item.